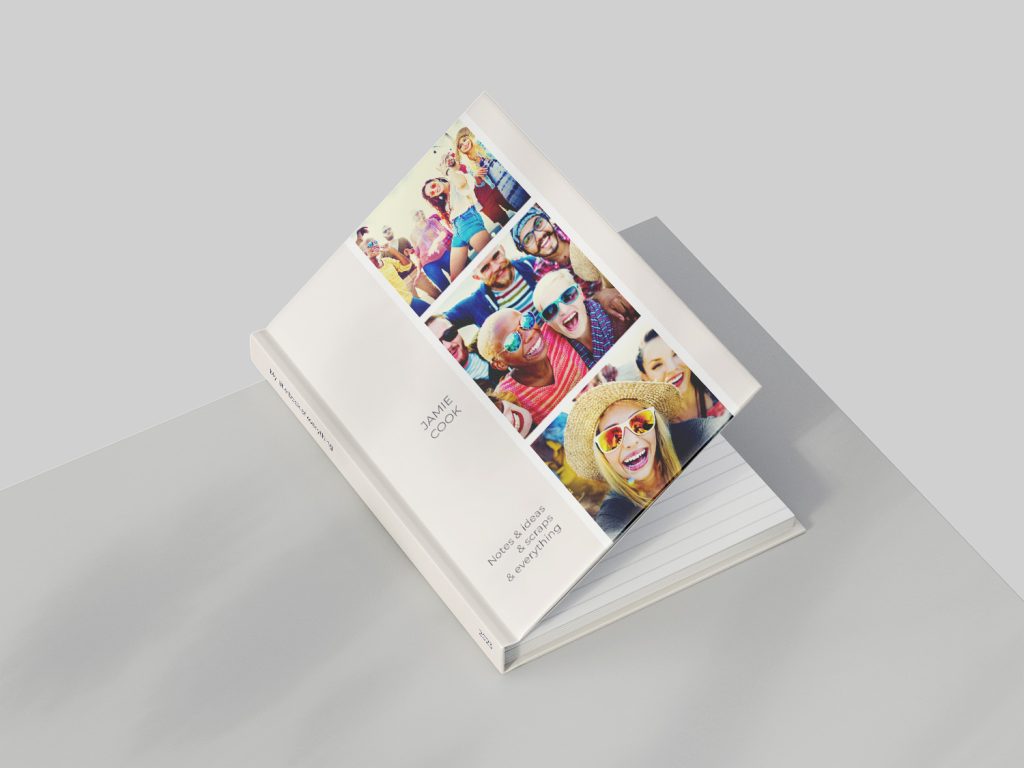

Once you’ve selected your preferred design, it’s time to bring your creativity to life. Click on the “Start the design editor” button, and you’ll be taken to our user-friendly design platform.
All of our designs come with placeholder text, which you can easily modify to reflect your personal touch. Change the text, add extra lines, select different fonts, resize it, and even change the colours to match your style.
Uploading your photos from your phone couldn’t be easier – click on UPLOAD and then click PHONE, scan the QR code on screen, choose the photos you want and click add. Your photos will be uploaded directly from your phone and will be available to use on the left hand side.
Drag your photo to the placeholder, move it, resize it, rotate it and edit the colour if you want.
Before finalising your creation, it’s time to see it in action. Click on the “preview” button to use our built-in 3D viewer, which allows you to see your personalised photo Notebook exactly as it will appear in real life.
Completing your order is as easy as checking out from any other quality e-commerce site. Follow the standard checkout procedure to finalise your purchase.
Our team will get to work on your personalised Photo Notebook. Production typically takes three to four working days, and you can expect delivery within two days after that. Your unique Photo Notebook will soon be in your hands, ready to be filled with your thoughts, ideas, and creativity.
Personalising a Photo Notebook has never been so easy and enjoyable. With Paper Journals, you have the tools to create a unique journal that perfectly suits your style and preferences.
So, what are you waiting for? Start designing your personalised Photo Notebook today!
We hope this article helps your customers understand the process of personalising a Photo Notebook on our website. If you have any more specific questions or need further assistance, please feel free to ask.
Email us at hello@paperjournals.co.uk
© All Rights Reserved Paper Journals Ltd 2024